
Joint Design - Revision 4
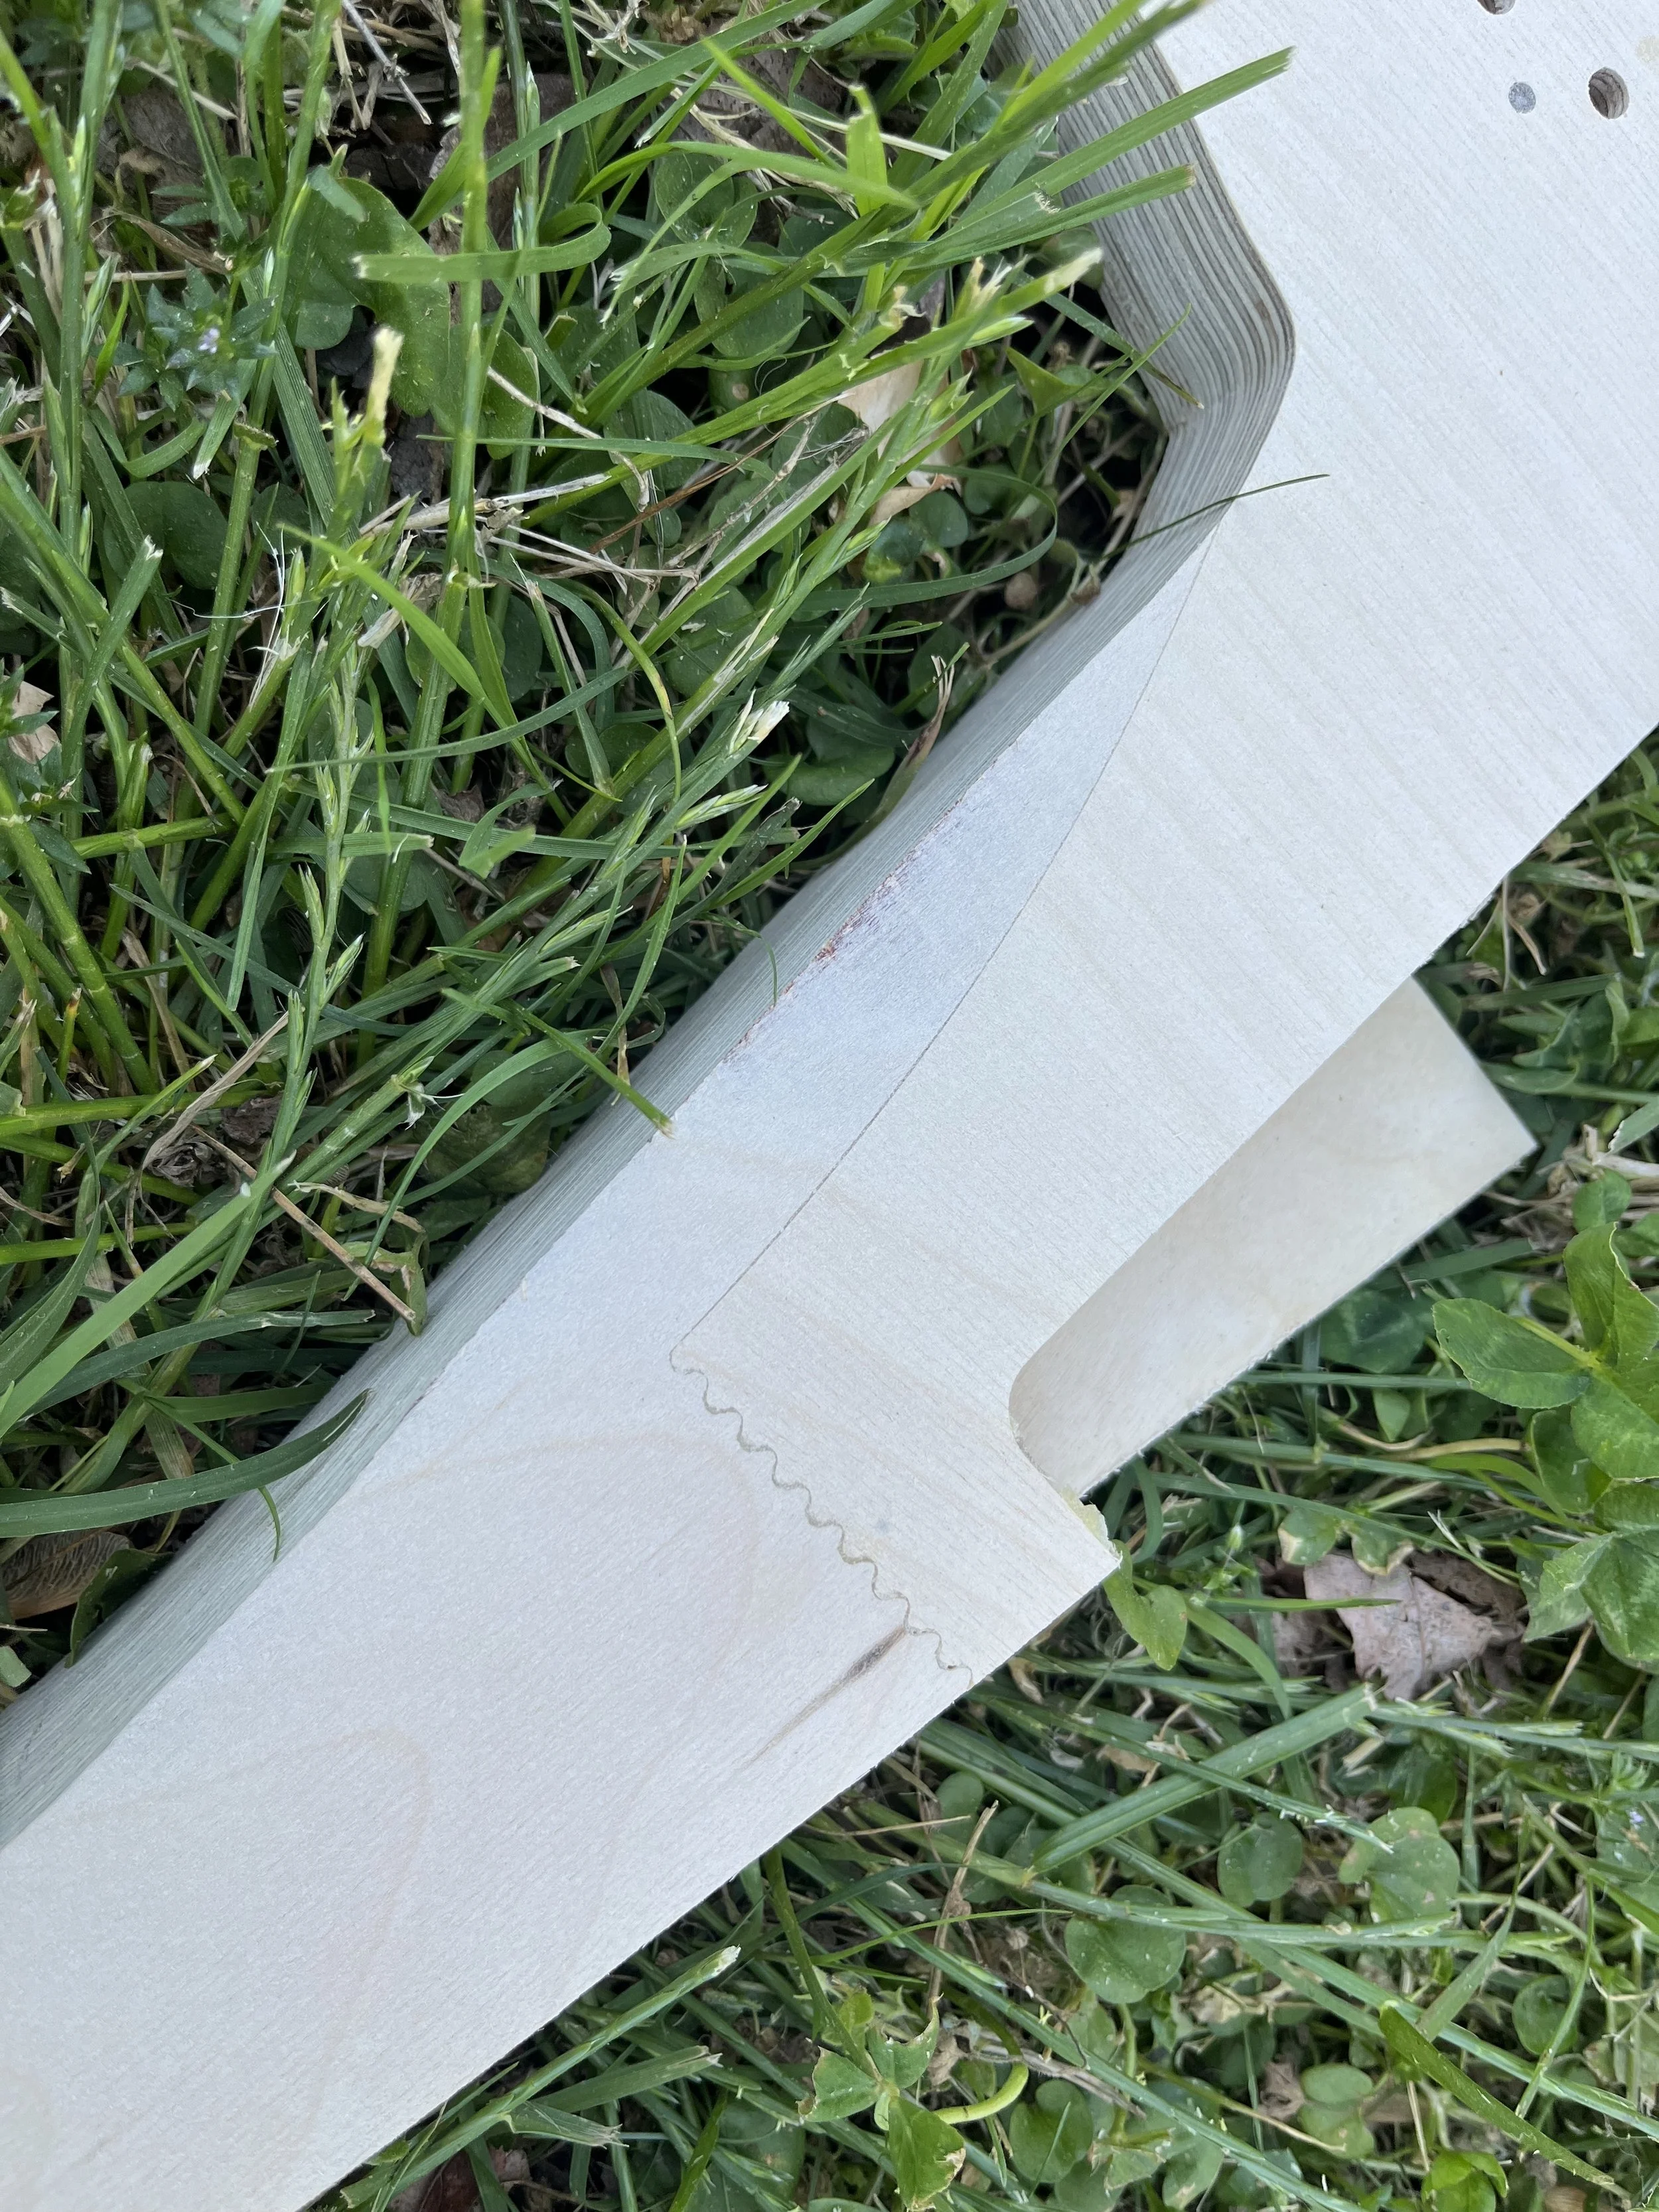
After experimenting with different joint designs, we now have one that allows reasonable assembly, strength, and low-cost CNC cutting. One challenge has been piece size – most economical CNC machines have a max dimension of around 47", but the column of this instrument is 52". We now have a squiggle/wave joint that holds strong and allows a small home-sized machine to make the parts.
After experimenting with different joint designs, we now have one that allows reasonable assembly, strength, and low-cost CNC cutting. One challenge has been piece size – most economical CNC machines have a max dimension of around 47", but the column of this instrument is 52". We now have a squiggle/wave joint that holds strong and allows a small home-sized machine to make the parts.
First Neck Assembly - Revision 3
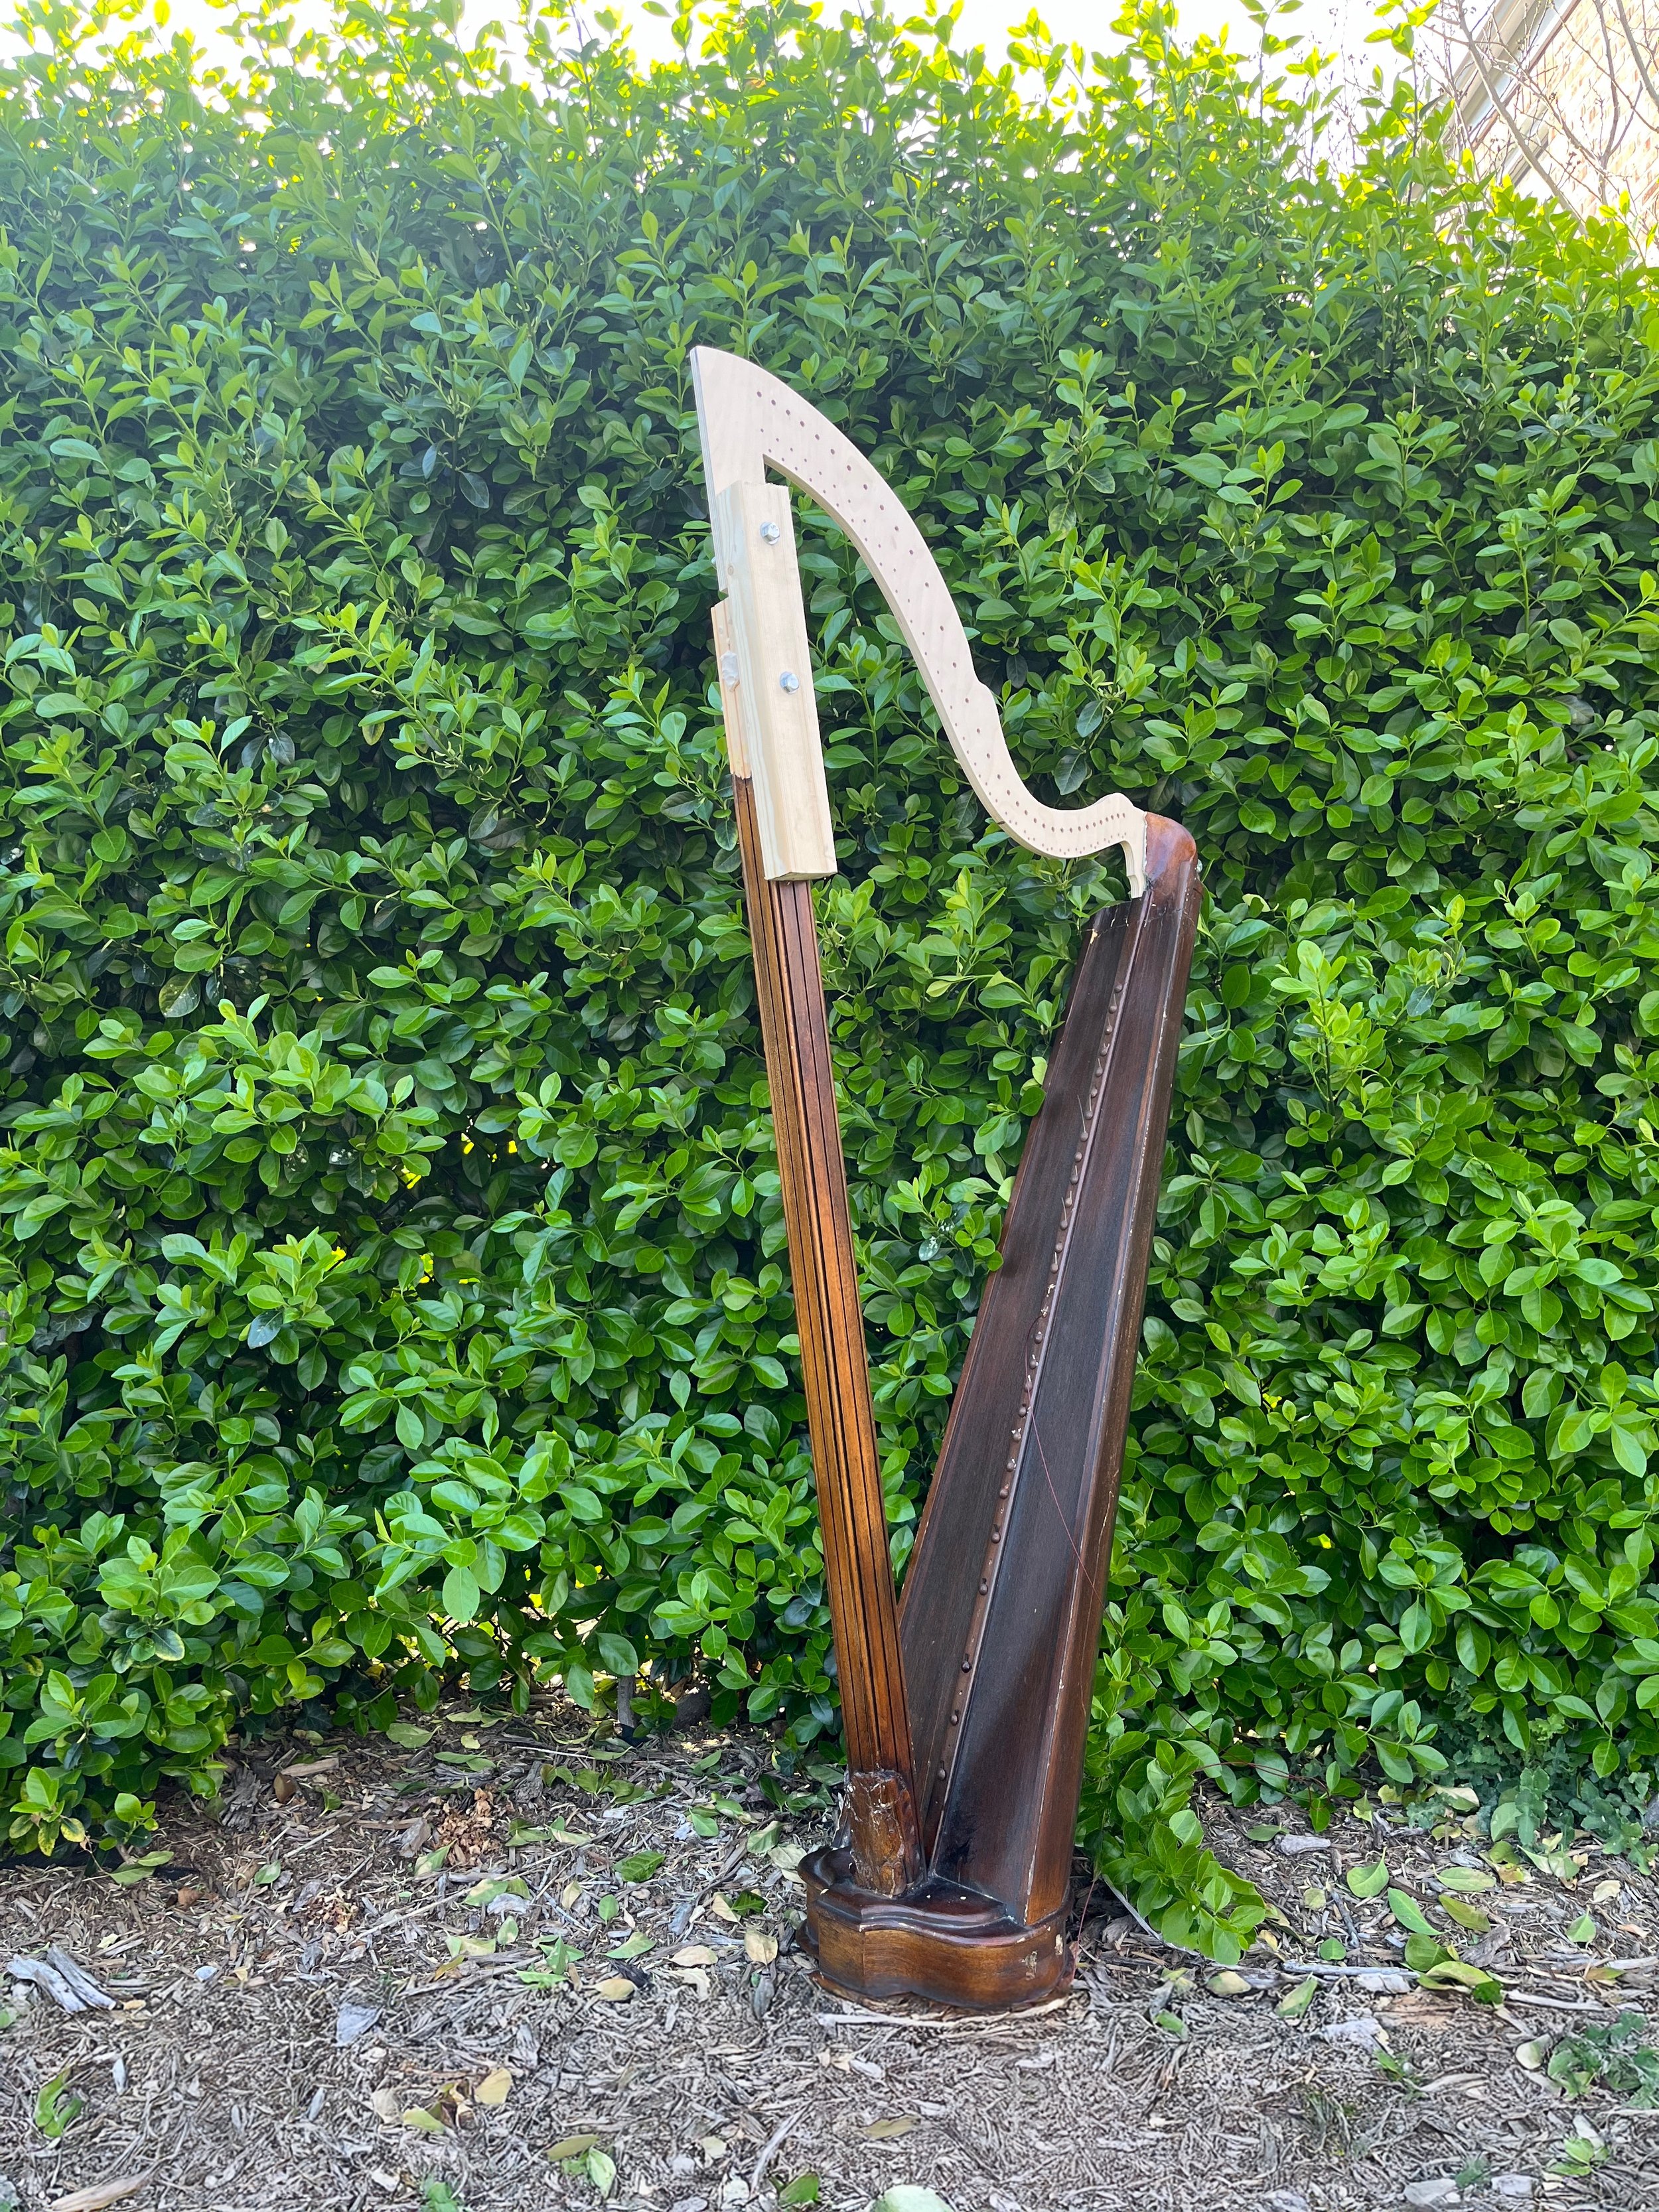
Normally, harp necks aren’t exactly what you’d call “quick release” — but that’s exactly what I needed in this case. Since the column isn’t original and the neck angle block is more wood filler than actual wood, I decided to keep things simple and bolt the neck on for now. It’s a practical choice while everything is still in flux and gives me the flexibility to make adjustments as I go.
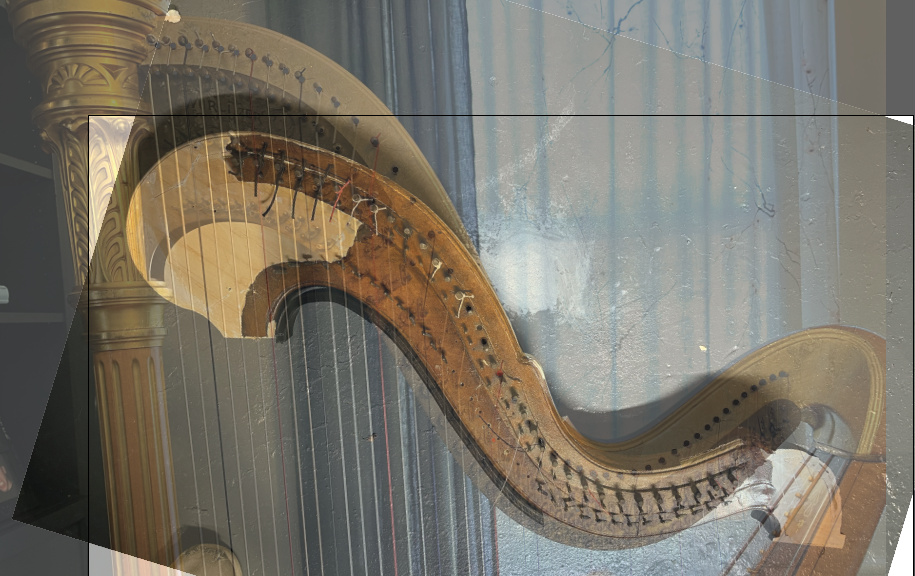
Now we get to the fun part — laying out the electric motors and starting to figure out how to best tension the strings. To keep things simple, I’m starting with just a few strings to test the concepts. One of the first things I noticed is that the string hole spacing on the soundboard is wildly inconsistent, which will definitely need to be addressed to help with proper alignment.
As for string adjustment, the current servos I’m using are just a bit too large to comfortably fit within standard string spacing — especially compared to modern harps. So I’m experimenting with different motor designs and layout solutions to help reduce that spacing and make everything fit more cleanly.

Disassembly and Modeling - Revision 2
Disassembly and Modeling - Revision 1
Take a look at this instrument — while it’s gorgeous at first glance, the illusion starts to fall apart (pun fully intended) the deeper you go.
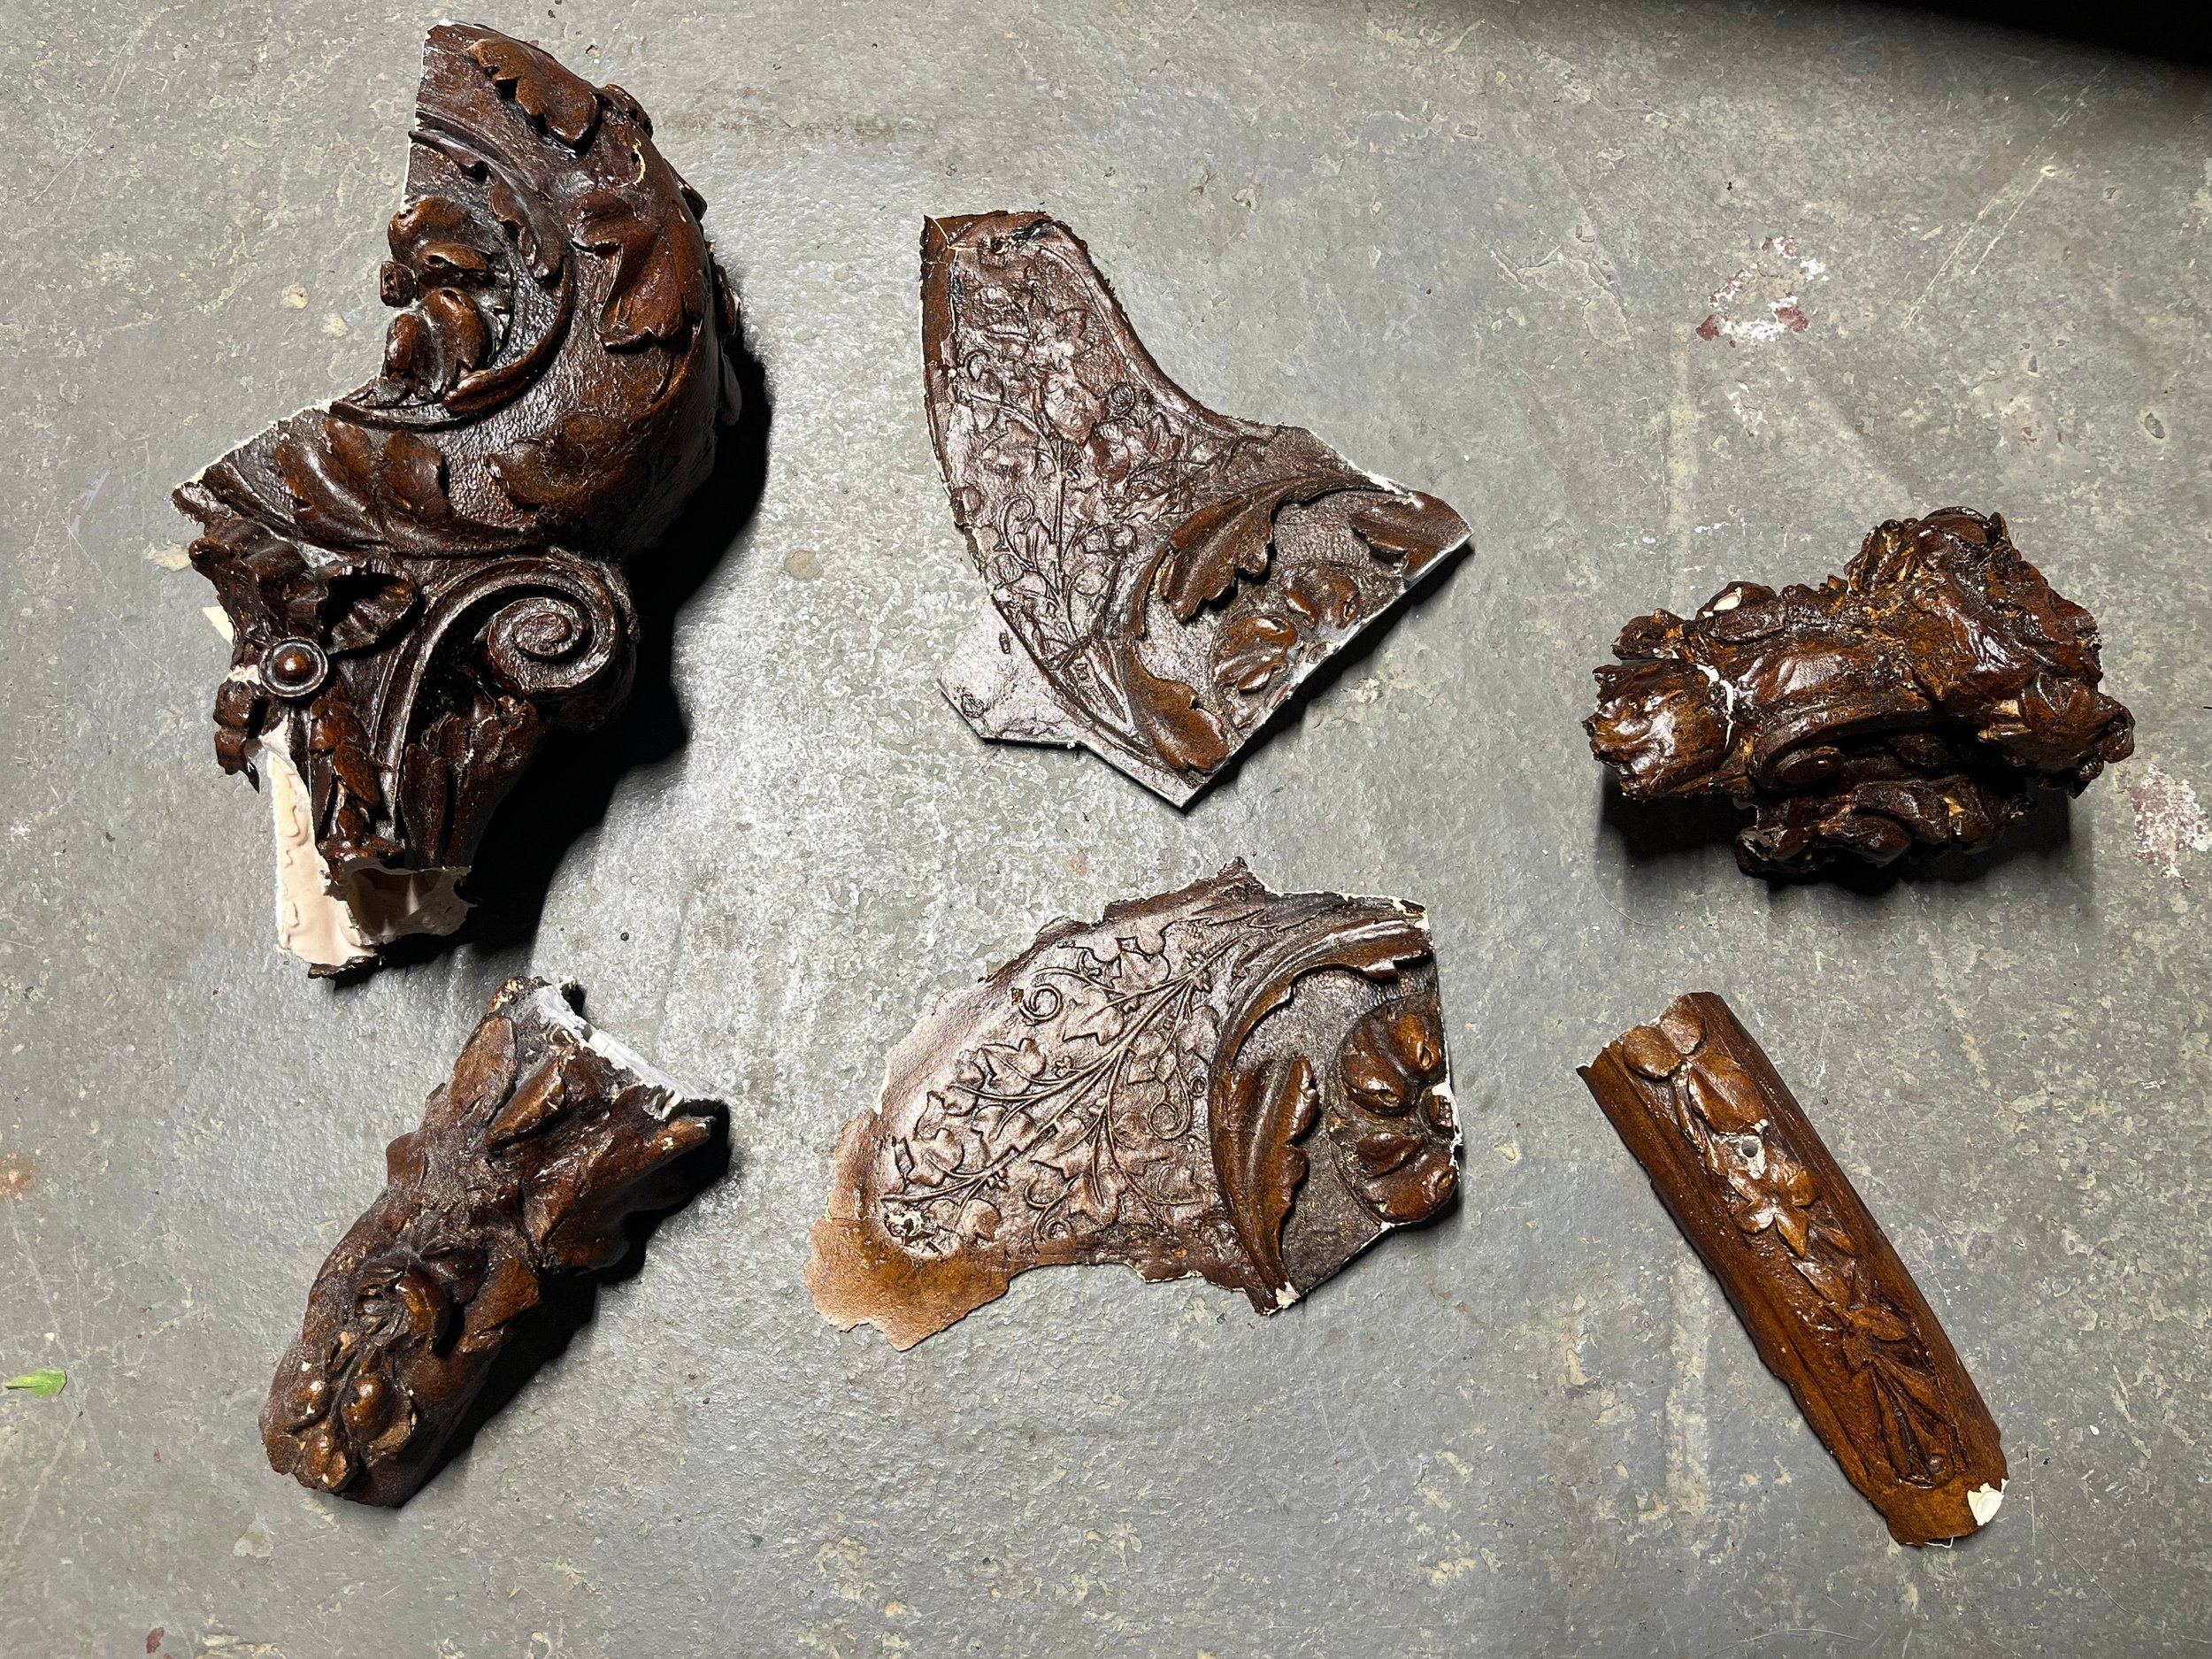
The first step was removing the decorative carvings and trying to keep them as intact as possible. I’ve got a plan for those...
Here are all the pieces that were removed from the neck and column. Some of them are in surprisingly good shape, and others… not so much. I’ve kept everything organized for now, and I’m planning to reuse or reference as many of these original decorative elements as I can in the next phase of the build.
Once I stripped the carvings off the neck and column, I finally got a clear look at what was underneath… and wow. It’s rough. The core is made from a dimensional piece of lumber, and none of it really lines up with what should have been the original design. So that’s neat.
To move forward, I’ve decided to take a hybrid approach to rebuilding the structure.
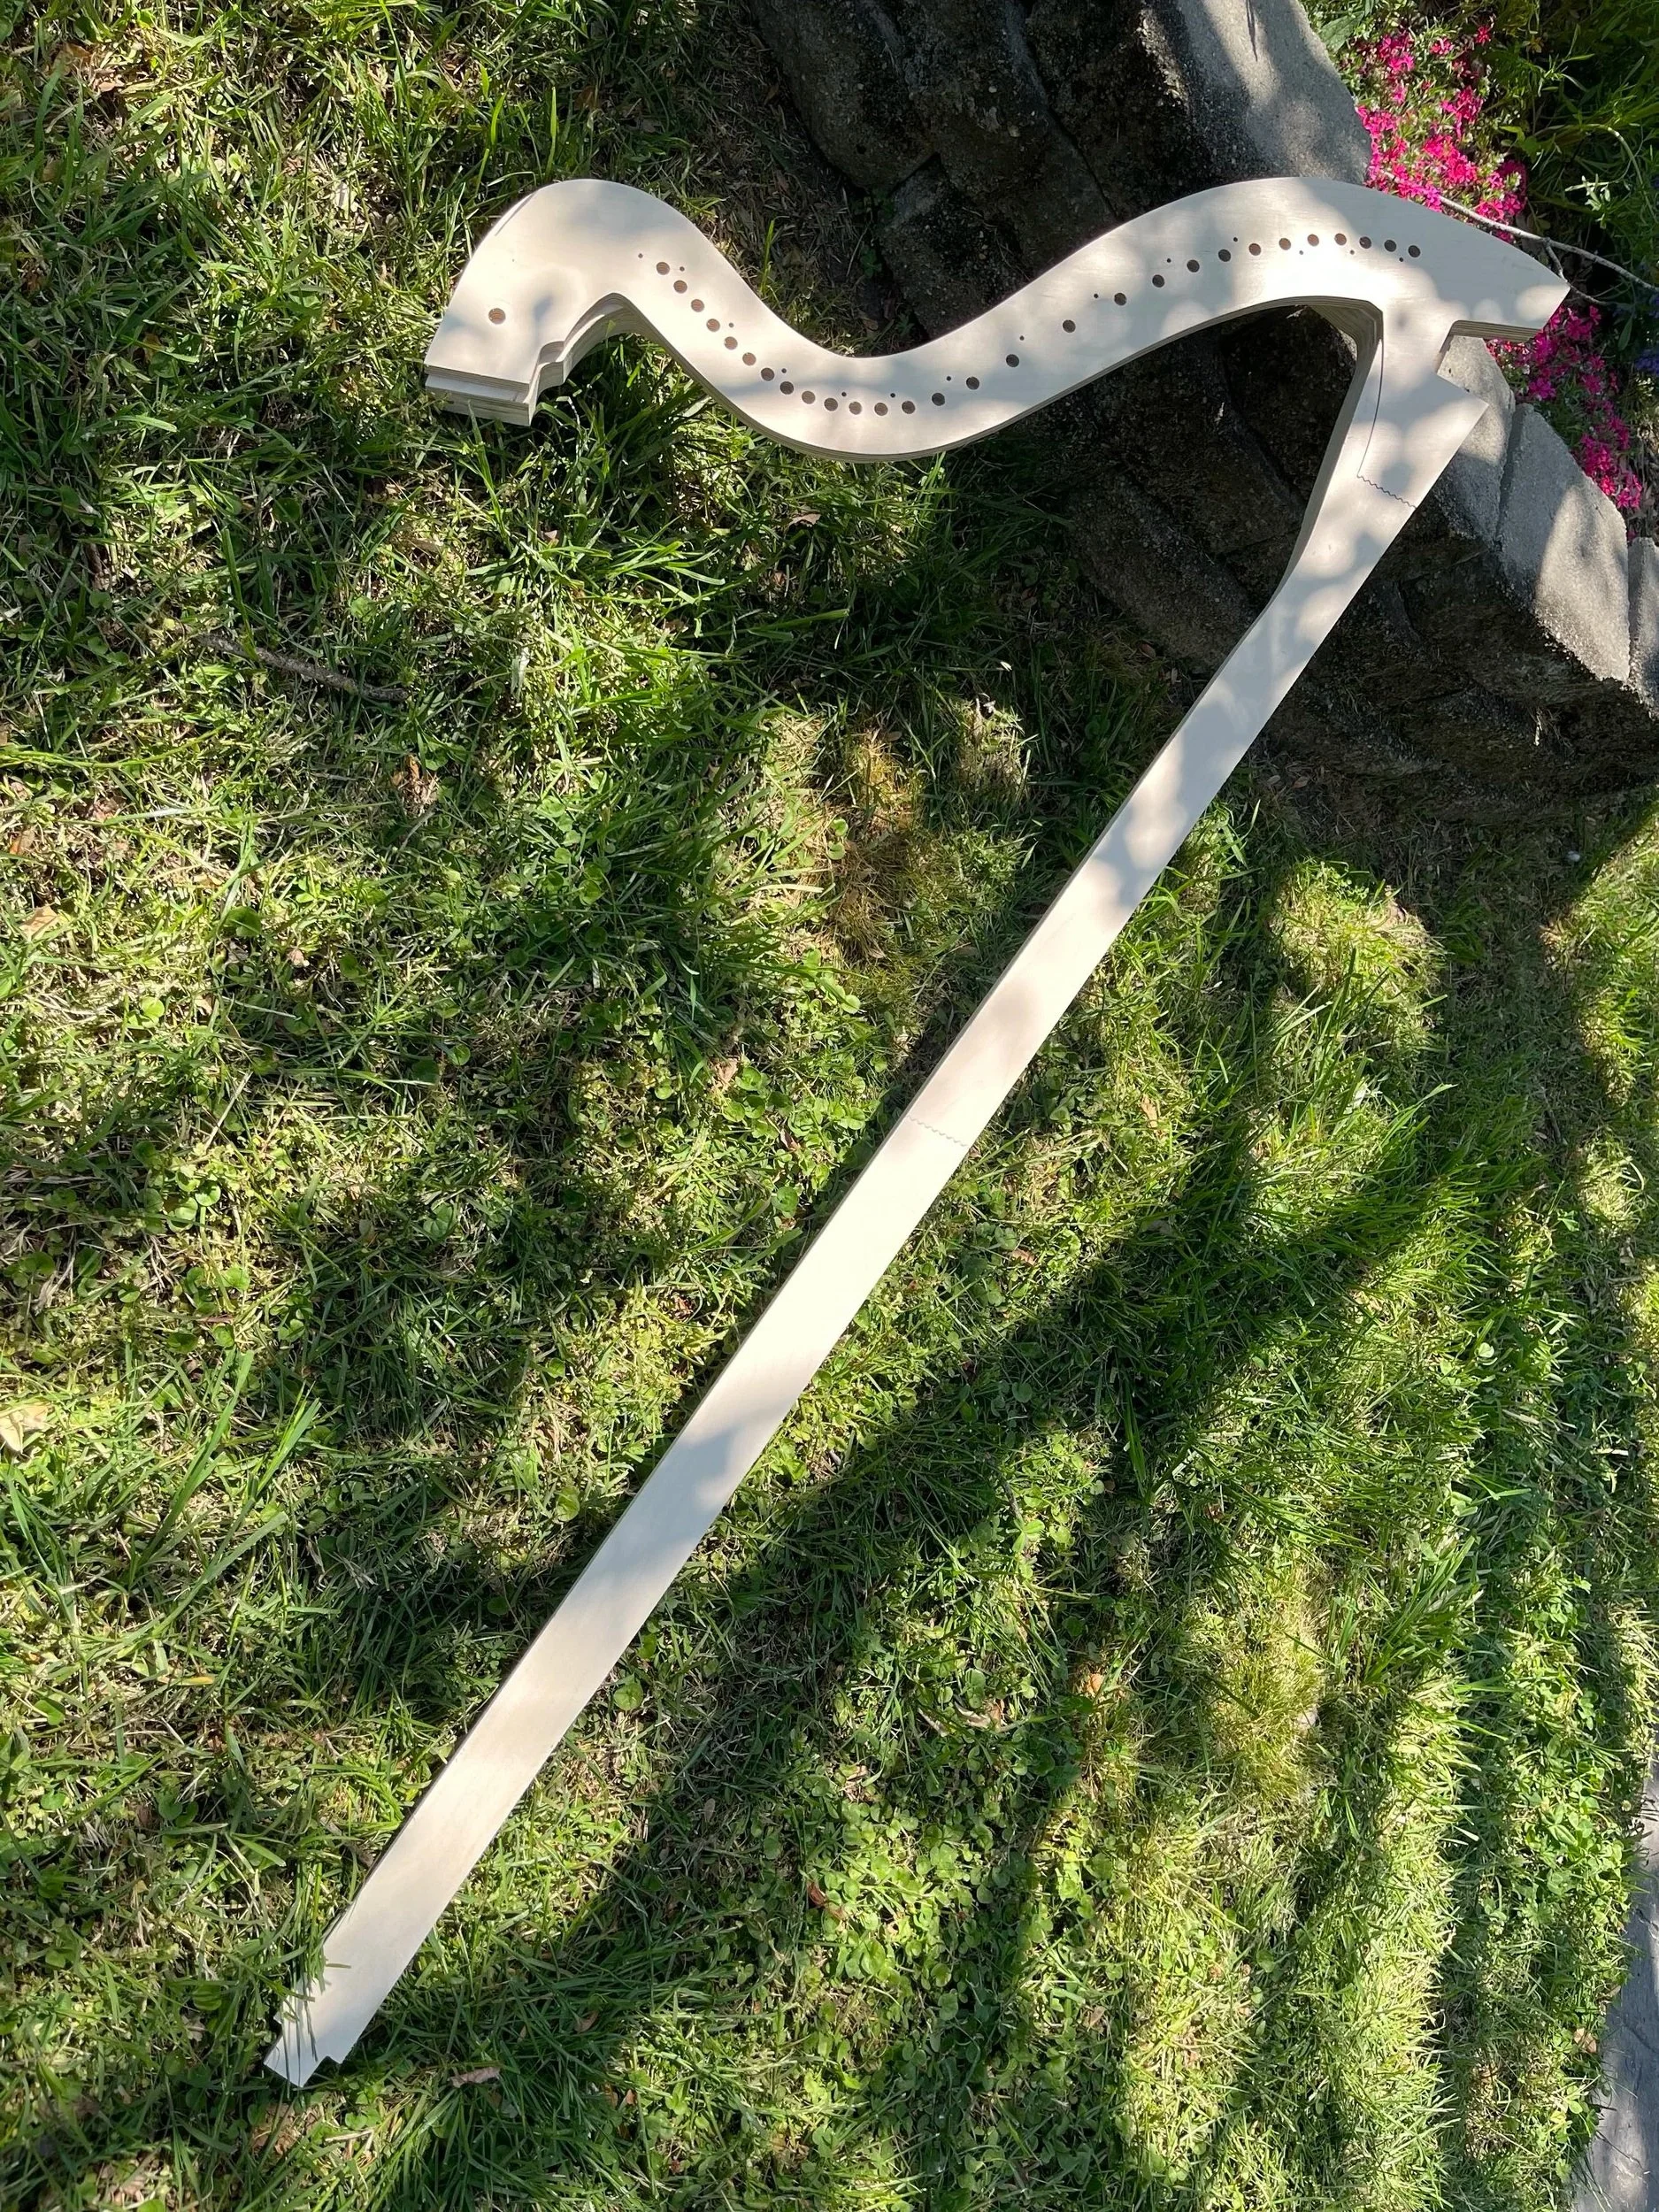
Once I had a rough draft of the neck ready, I sent the file off to SendCutSend to have it cut from high-grade birch plywood. I chose plywood to help keep costs down during the revision process. Once the design is finalized, I plan to experiment with maple or a more traditional tone wood.


Just because I think it’s interesting — here’s a comparison of the two necks overlaid on top of each other. It’s a cool way to see how the shapes differ and where they align.
Wurlitzer Model AA neck overlaid onto the original instruments neck.

Here’s the first revision of the combined shape — using the original instrument’s outline along with the tuning pin layout from the Model AA.
Since the world is my harp-based oyster, I’ve decided to use one of my all-time favorite instruments as the design foundation for OpenHarp: the Wurlitzer Model AA. It’s a petite pedal harp, and specifically chosen because I really love how it functions and sounds. Honestly, the smaller size makes it a bit more manageable too.
The first step was photographing both the original neck and the Model AA neck, then tracing them in CAD to get accurate outlines. Once I had those shapes mapped out, I added the tuning pins and bridge pins to the model to see how everything lined up.


Here’s a slim version giving me (hopefully) plenty of space for the electronics and motors to live.
